
The Culture of Vinyl Cutting
People are becoming fanatics of t-shirt printing. Diverse printing methods are giving a big shot in the broad global market. With quick access to digital printing, customizing shirts emphasize personal taste and tackle most conveniently. The vinyl cutter is one of the most desirable styles of achieving great design.
Textile Vinyl
Textile vinyl is a solid-colored thermo-adhesive plastic sheet. It is used to print fabrics. The vinyl textile decoration method applies a scarcely perceptible “plastic product” on top of the vastly resistant and elastic cotton fabric. A cutting plotter draws and cuts the drawing’s contours on the vinyl. Then it is transferred onto the shirt. There are a variety of textile vinyl in different colors and finishes to choose from.
Vinyl Cutting Machines
Vinyl cutting machines and cutters are used for different purposes. Because printing a simple mark on a single vinyl sheet is cheaper and faster than creating a photo with multiple sheets stacked. Most billboards are cut with vinyl plotters. Also, multi-colored work is done with vinyl cutters. Such as vinyl covers on cabinets and walls. Ultimately, both devices have their own special and unique features. And it is not feasible to precisely say which cutter plotter is better over the other.
Cutting vinyl is one of the best-known textile personalization techniques of all time, along with screen printing. Thanks to its versatility, production speed, and low cost. Vinyl is one of the most used solutions to print t-shirts in a short time for events, occasions, or promotions. Despite the many doubts, vinyl is a high-quality material. Although it is not recommended for all types of designs. Today, there are countless vinyl types. So, you can get the result you are looking for: from golden vinyl with glitter and even imitation velvet.
Textile Vinyl Printing
Printing with textile vinyl is so easy that it is perhaps one of the best techniques to enter the world of t-shirt printing. But whoever wants to start this sounds like misleading advertising and would like to verify it personally.
Vinyl Lettering
The vinyl lettering is used to label vehicles, posters and carry their tail, covered by a protective sheet, such as carrying all adhesives. After cutting them and discarding them, you should transfer them to a transparent and slightly adhesive sheet called a conveyor. Then you place the conveyor with the cut vinyl on the final surface. Thus they are permanently glued with their glue.
Vinyl Activation
Pieces of vinyl have their tail, but this is not activated if heat is not applied. For this reason, they are sold and are already applied to the conveyor. When cutting them, you have to do it in a mirror mode. Then they are discarded, and they are ready to be applied to the fabric.
Do you already have ideas about the method and need assistance from us? Then go ahead and place your order in our quote form or continue to read to learn more.
The basic process of vinyl cutting
1. Preparation of the layout
It is the first and, to say, the most creative part. You can search the internet on numerous vector clipart sites. You can draw yourself. Most often, you first have to look for and refine it for yourself, taking out the necessary elements and discarding all unnecessary garbage.
When selecting or creating a layout, you should always consider that the result of creating a design is a cutting outline. You can use any number of auxiliary lines, intersecting shapes, symbols, but in the end, you should get one or more contours: the lines along which you will make the direct cutting.
They can be separated, located inside each other, but it is enviable that they do not intersect because, in this case, we get a broken shape. There is nothing terrible in this, but there will be excessive and possibly striking cuts on the finished product. During operation, they can become foci of film peeling off.
2. Printing on film
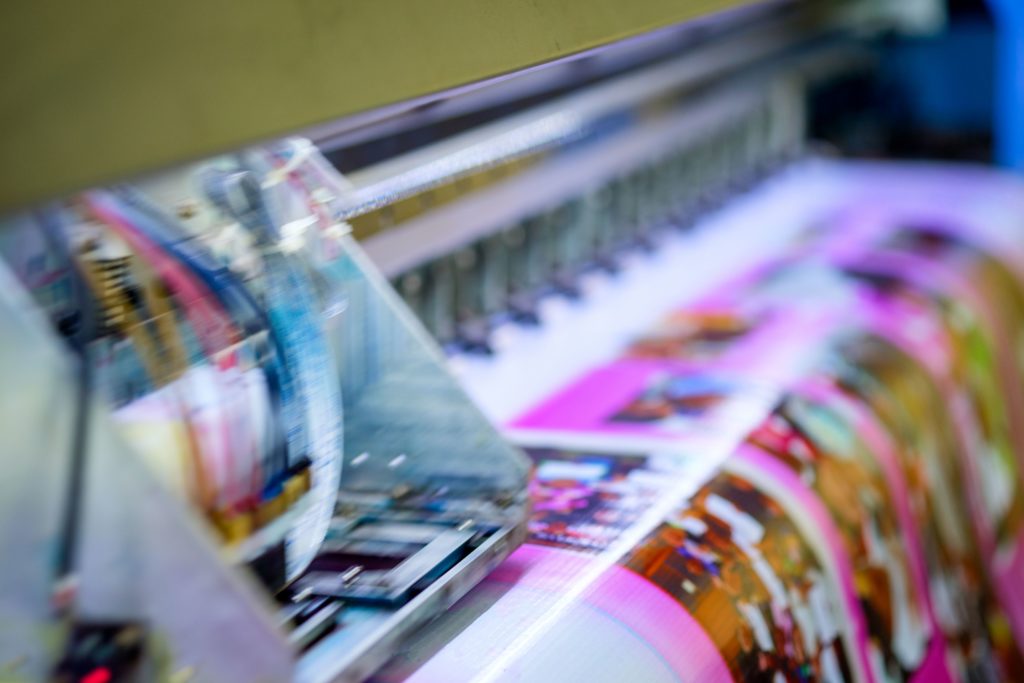
Printing on film is necessary if the layout involves cutting a silhouette from one-color vinyl and applying a preliminary drawing. Not every plotter can boast of this. Most often, these are very high-priced models that include the functions of printing and cutting.
3. Cutting Vinyl
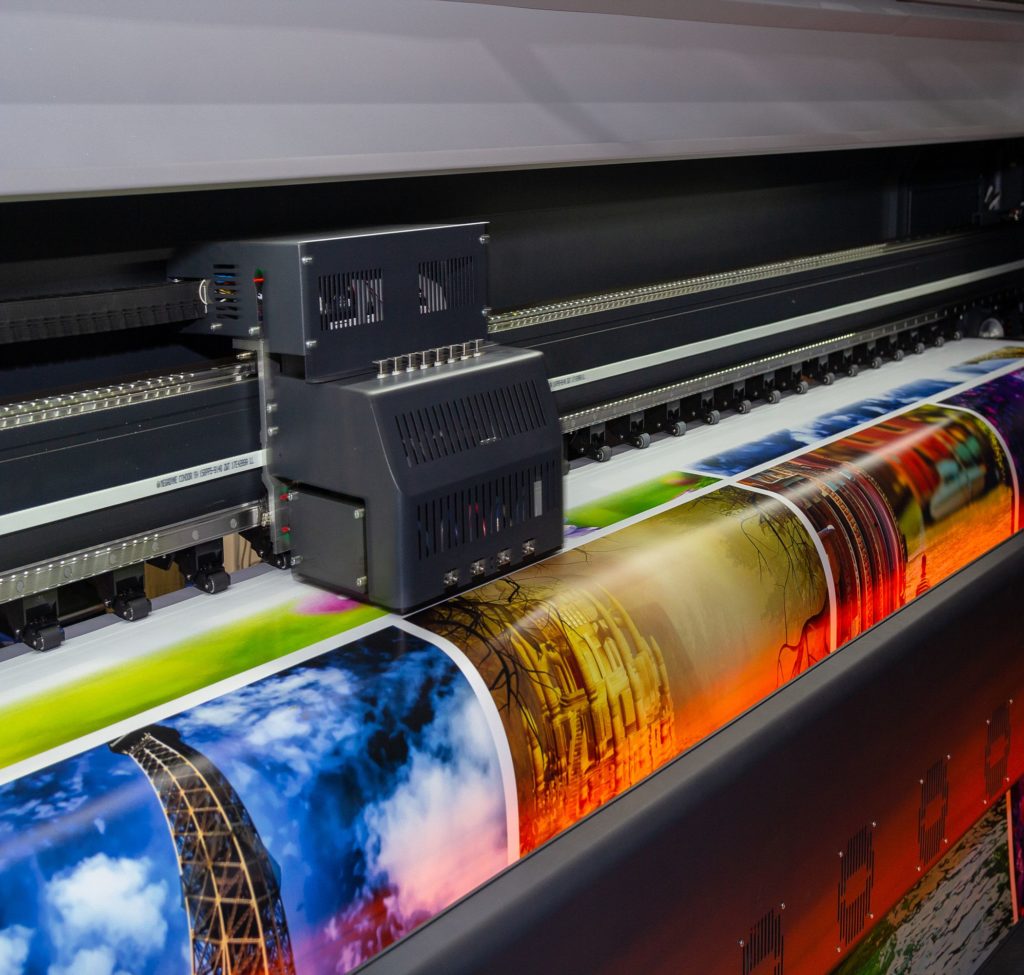
This step is perhaps the most exciting experience. The main thing is to exactly insert the film and set the cut of the knife’s depth. In some instances, there are 12 knife positions, and the maximum cutting depth is 0.8 mm. For the vinyl film, 0.1 mm is sufficient.
4. Selection of irrelevant elements after cutting
It is the part which it could be quite painstaking work, but interesting. We take an assembly knife, an awl, or a unique hook and eradicate vinyl’s unnecessary fragments. It is best to start from the outside and gradually work your way into the layout. It is advisable to check the original picture so as not to choose anything superfluous. The silhouette of our design should gradually appear.
5. Rolling of the assembly film
To transfer a sticker thoroughly cleaned of unnecessary elements, you must use mounting tape. It is a particular film with a tack characteristic greater than the vinyl backing but less than itself. Glue the mounting film onto the prepared sticker and smooth it over the entire surface with a roller or a special rubber spatula.

6. Rolling on a hard, flat surface
It is the most critical job. It isn’t very easy to portray in words, but the point is to smoothly peel off the vinyl sticker’s backing and stick the mounting film onto the prepared surface. The surface can be any, but it is desirable to be smooth and clean so that the sticker will look better and last longer. When peeling off the backing, the sticker must remain on the installation film. We circumspectly roll up the film, trying to avoid the formation of air bubbles. After that, you should carefully remove the assembly.
The result, the self-adhesive cut-out film, is transferred to our surface.
The significance of vinyl cutter
One of the reasons vinyl cutters have enjoyed such huge success in both home and professional workshops is the variety of materials they can work with. Even the most basic home desktop vinyl cutters can achieve quite a lot, and they are an integral part of producing various types of arts and crafts projects.
- Cards and stationery – making your own stationery is easy with a vinyl cutter and is ideal for cutting on cardstock, paper, and other light materials
- Clothing and accessories – when cutting into the fabric, you’re able to create a pattern for sewing or making clothing and accessories like bags and hats
- Iron-on transfers – with a vinyl cutter, you’re able to design your own logos and patterns which can be cut into iron-on transfers and then placed onto clothing
- Magnets – a quality vinyl cutter will allow you to make refrigerator magnets for your home or business, and you can individualize each one that you create
- Signs – although commonly used for sign printing businesses, it is possible for the home hobbyist to cut through vinyl and other adhesives to create signs for windows, walls, and other surfaces
- Stickers – creating your own stickers with a vinyl cutter means you can personalize the design, and print them as large or as small as your machine will allow
In terms of professional-grade vinyl cutters, these are generally found in any industry that uses a sign printer. When buying a vinyl cutter for a larger scale use, there may be diverse specifications and features that you would deem important.
The ideal vinyl cutter
A vinyl cutting machine can help you accomplish many projects, from producing labels to stencils, stickers, paper prototypes, custom apparel designs, and decals. Opening the doors to all of these creations with just one machine can be a considerable advantage, and it is the best way to produce your signage.
Size
There are two things to consider with your vinyl cutter’s size to see which is right for you. Firstly, the size of the machine itself will be determined by how much space your home workshop has. Secondly, the size of the cutting area means how much material you can feed into it. For larger jobs, you’ll want a device that can work with around 25″ or more.
Speed
The speed of a cutter determines how fast it can cut, and this is usually measured in millimeters per second. However, the cut’s speed does not specify how precise it is, so don’t consider this the most important feature when shopping around.
Memory
The memory of the vinyl cutter’s computer is responsible for storing past designs. It sometimes holds the pre-programmed patterns and designs that the manufacturer uploaded. These devices can often connect with a computer that can store important details, so it’s not always important.
Blade Force or Pressure
The force and pressure of the blade are of equal importance for determining how precise the cut will be and the types of materials it works with. For home use, the force isn’t as critical as for a professional workshop cutter, which is being used all day and for bulk projects.
Cutting Capabilities
The capabilities of a vinyl cutter refer to the different materials and surface it works with. Although called vinyl cutters, these machines are designed to cut through fabric, tint, transfer material, cardstock, and paper. However, keep in touch with the manual of your specific machine to see what it works with best.
Optic Eye
It is a laser-pointing device that allows your machine to contour cut. Contour cutting is ideal for use with materials such as iron-on transfers as it allows you to cut away the excess and leave you with what’s needed for your design. It can give up to 0.1mm accuracy, which makes it the most precise cut available.
Scanner
Not every vinyl cutter comes with a scanner inbuilt. However, most modern ones do. It enables you to create a drawing that is then scanned into the machine and then cut into the material of your choice. Scanners are measured in terms of DPI, which indicates how high the resolution will be.
Pros of vinyl cutting
- It is a low equipment investment.
- It is a simple, plain, and easy-to-learn process.
- It has excellent resistance to washing.
- It yields perfect results on dark backgrounds.
- It is undeniably suitable for t-shirts of any composition such as cotton, lycra, polyester, or any type or mixture.
- It creates a great variety of exclusive finishes of textile vinyl, velvet, holographic, diamond, metallic, reflective.
Cons of vinyl cutting
- It is limited to the use of spot colors, so it is unfeasible to achieve gradient effects.
- Designs are limited to a few colors only because each vinyl represents one color and must be cut individually.
- Stamping with textile vinyl requires a manual process called vinyl waxing, and it is to remove the remains of the vinyl after cutting that will not be used. It can be a tedious task and is probably what takes the most time in this decoration process.
In addition to signing business, you can use vinyl cutters for apparel decoration. A vector design needs to be cut in a mirror image, weeded, and then heat applied using a commercial heat press or a hand iron for home use to embellish apparel. Some businesses use their vinyl cutter to produce both signs and custom apparel. Many crafters also have vinyl cutters for home use. These require little maintenance, and you can buy the vinyl in bulk relatively cheaply.
Inksterprints uses the best vinyl cutter in South Philly, and we follow the ideal cutting procedures to give you nothing but the best. Please feel free to browse through our website to learn more about our services. And get in touch with us for support via phone, email, or visit our store.
Vinyl Samples
We offer different types of iron-on vinyl to our customers who need them. You can think about designing on your own for your kid at home.
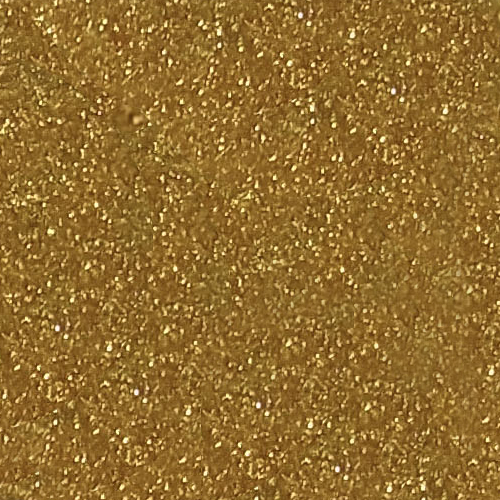
GOLD-Glitter-HTV

CRACKED-GRAY-Patterned-Flock-HTV
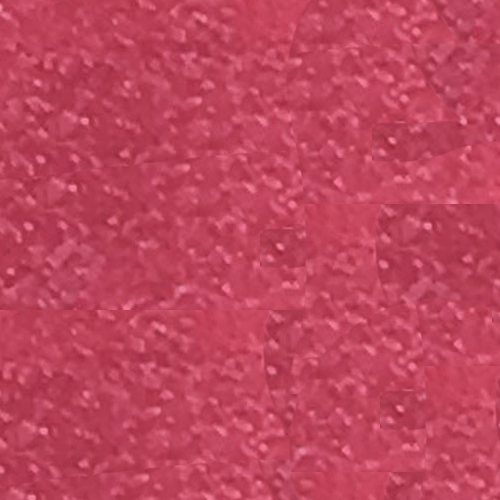
HOT-PINK-Neon-Glitter-HTV
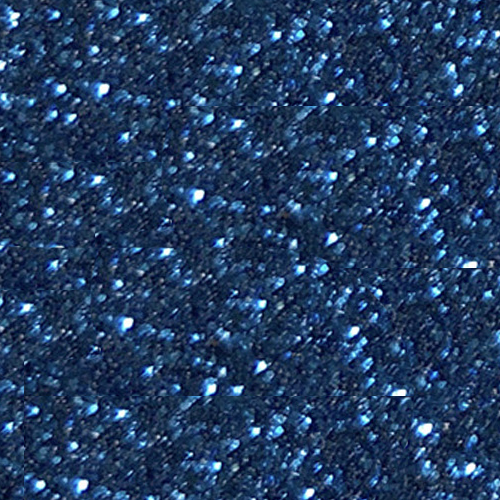
ROYAL-BLUE-Glitter-HTV
Glittering vinyl designs on a t-shirt make the little ones happy. You can visit us directly at our store. You may buy or see more vinyl options from our online store at Iron-on-Vinyl. co.